llmmenu: Quick LLM Access with Mods and Kitty
I use LLMs extensively throughout my day, but I find the workflow of opening a website and starting a new conversation before typing my query to be slow and disruptive. Since I normally prefer keyboard-driven interfaces like rofi/dmenu for most tasks, I wanted a simpler solution.
When coding, this isn’t a major issue since editors I use like Zed and VSCode have decent LLM integrations. However, I needed something more streamlined for quick queries during the day. I wanted a simple window that would:
- Launch instantly with a keybinding
- Allow immediate typing
- Render markdown properly
- Support different LLM APIs
Simon Willison’s excellent llm CLI tool nearly fits the bill. I use it in the terminal frequently so I started by creating a simple shell wrapper that launched my terminal emulator, Kitty, and called Simon’s llm. However, while I don’t need all the features of web interfaces, I do heavily use LLMs for coding, so proper markdown rendering, especially for code snippets was essential.
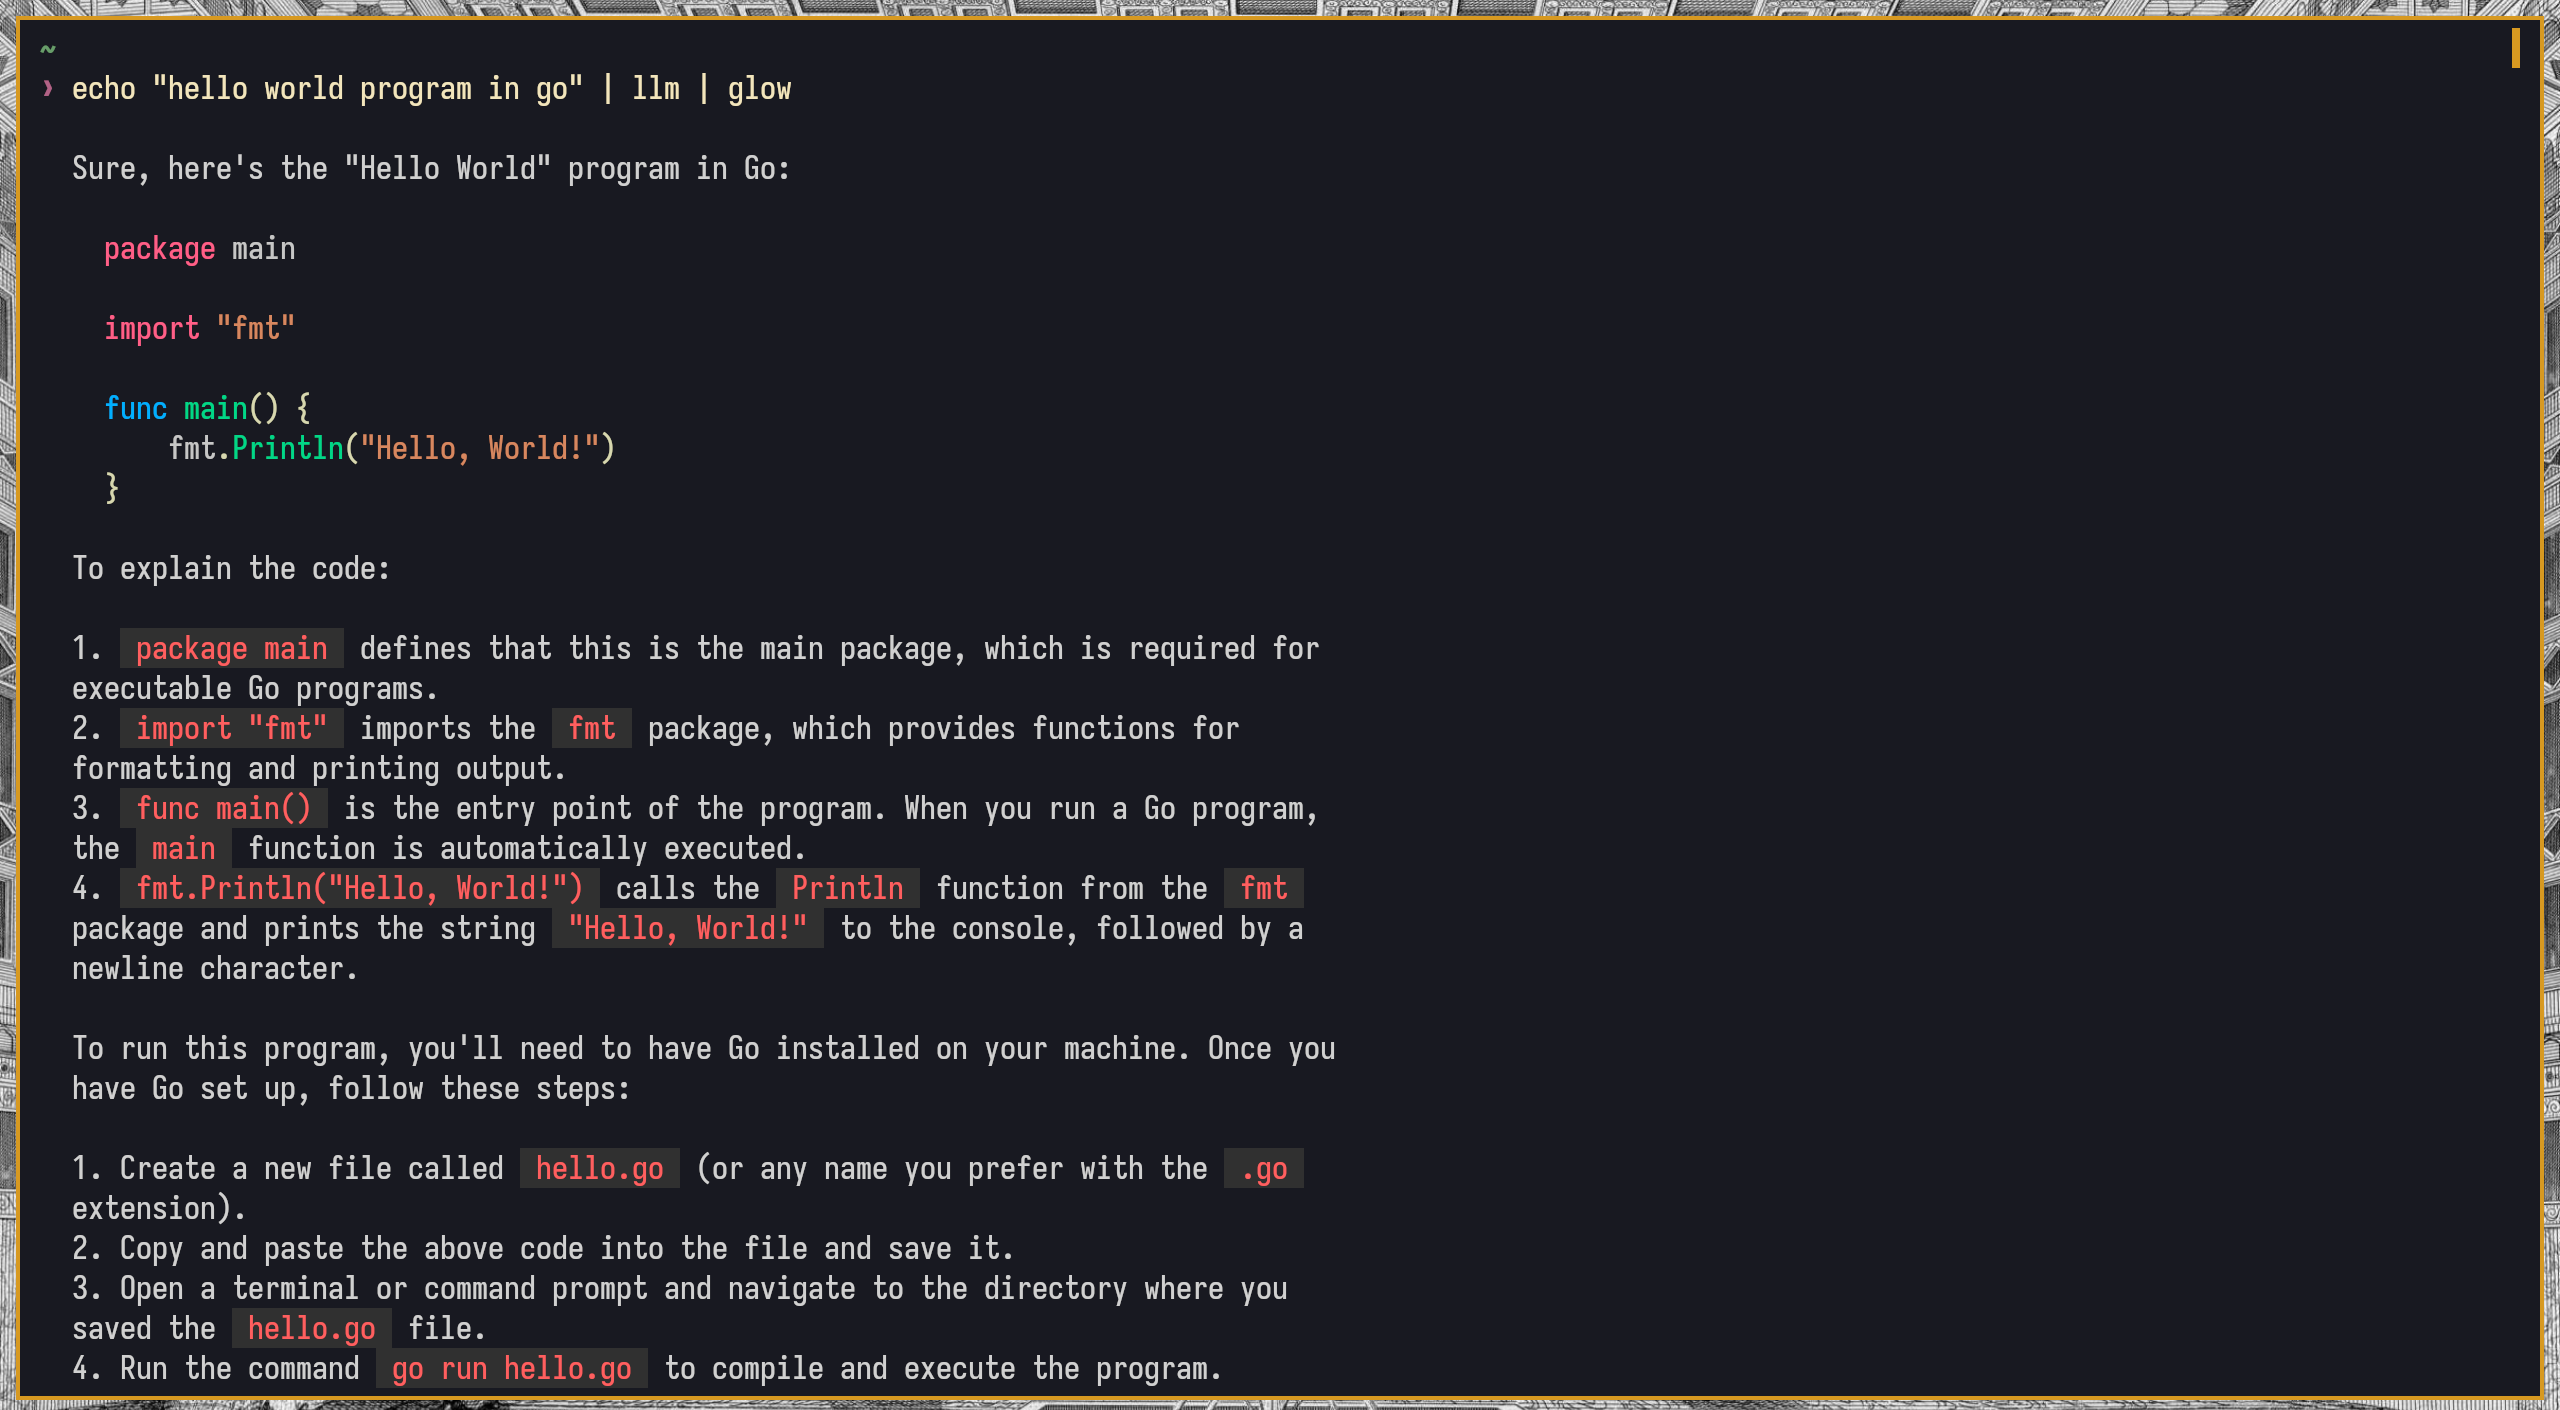
llm does not do any markdown rendering so I attempted to fix that by combining its output with Glow, Charm’s terminal markdown renderer:

This worked well but had one limitation: while llm supports streaming output, Glow only works in blocking mode and would wait for the entire response before displaying anything.
While exploring Glow, I discovered Mods, another cli tool from Charm for interacting with LLMs that handles both markdown rendering and text streaming beautifully out of the box. The only missing feature was that Mods is primarily built for pipelines, and while it stores conversation history and can continue chats, it doesn’t have an interactive chat interface. Nothing a simple loop couldn’t fix.
Running Mods in a loop
First, I created a wrapper script to run Mods in an interactive loop:
#!/usr/bin/env bash

[[ -f "$HOME/.tokens" ]] && source "$HOME/.tokens"

assert_installed gum mods
assert_defined ANTHROPIC_API_KEY

get_prompt() {
    gum input \
        --placeholder="Prompt ..." \
        --prompt="🧑 " \
        --no-show-help \
        --cursor.foreground="#d79921"
}

first_prompt=$(get_prompt) && \
    printf "🧑 %s\n🤖\n" "$first_prompt" && \
    mods <<< "$first_prompt" || \
    exit

while true; do
    next_prompt=$(get_prompt) && \
    printf "🧑 %s\n🤖\n" "$next_prompt" && \
    mods --continue-last <<< "$next_prompt" || \
    break
done
The assert_defined and assert_installed functions are some simple optional bash scripts in my dotfiles. I’m using also Charm’s input tool gum instead of vanilla read to get the prompt because gum allows pressing ESC to cancel, as opposed to Ctrl-C with read.
Creating a Windowed Interface
Next, I needed a launcher that would open a new terminal and call my script. Kitty makes this straightforward:
#!/usr/bin/env bash

kitty \
  --single-instance \
  --override background_opacity=1 \
  --override background=#222222 \
  --class llmmenu \
  -- sh --noprofile --norc -c "mods_in_loop"
You might think that opening a new terminal window would introduce latency, but kitty’s --single-instance option ensures only one instance runs, with subsequent launches creating new windows in the existing instance. This makes window creation nearly instant. I also specify --noprofile and --norc when calling sh for potential speed improvements, though I haven’t measured the actual impact.
The --class option in Kitty sets the WM_CLASS property of the X window. This allows me to define a rule in my tiling window manager (i3) to make the window always open floating, centered, and with a specific size:
for_window [class="llmmenu"] floating enable, resize set 1500 px 750 px, move position center
I saved this wrapper as llmmenu and added an i3 keybinding to launch it with Super+G:
bindsym $mod+g exec --no-startup-id ~/.local/bin/llmmenu
Result
The result is a fast, simple, keyboard-driven LLM interface that I can bring up from anywhere with Super+G and start interacting immediately:
